Welcome to the new Unicron.com Alterations Blog! Although some people call them "kitbashes" or "customs,” we prefer “Alterations” because it takes more than just paint or a model kit to produce these works of art! With all the functionality that Blogger has to offer, we now provide a totally interactive database where posts can be viewed, commented upon and organized based on series, artist, character, or your own unique search criteria! (Check out the nav bar for suggestions.) To post comments, sign in with your valid ID from Google, Blogger, AIM, LiveJournal, WordPress, or TypePad.

For you artists out there, showing off your work is now easier than ever. Simply e-mail digital photos to: obsidian@unicron.com. We'll get them uploaded and linked as promptly as we can. Thanks for visiting and for all your contributions!

Showing posts with label Shinobitron. Show all posts

Tuesday, August 12, 2008

How To Article Chapter 3: Energon Swindle

Thanks again to Shinobitron for another great chapter in our exclusive Alterations how-to Article series.

Step 1
As always you have to know what materials your gonna need for a project. This piece is fairly minor and is mostly a repaint with some sculpting.

Tools needed:
Sculpt, Screwdriver, Dremel, paints (and brushes), X-acto knife.
First thing first is to wash your figure with dish soap and water. This will remove the mold release and make paint stick much better.
I always like to start with the head (but of course area of starting is up to you). I like to disassemble so my piece is easier to work with, but again this is your choice.

Step 2
The best thing to do is get some reference pics to work with (like here on Unicron.com) so you know what you're shooting for. After looking at some Swindle pics I changed the Strongarm head into the one in pic 2 using Apoxy Sculpt. If it doesn't come out right or the areas are to high don't worry we'll take care of that later.

Step 3
Okay so now you have the main sculpt done, but he still has Strongarm's body. You have 2 choices now 1) Paint the entire body black then paint over the black with the appropriate color or 2) Paint the body white then use clear yellow to make him his right colors and fill with black later.I based the entire body black and will now start matching to Swindles G1 scheme.
Step 4
I took him apart to avoid getting paint spatter on different colored areas. You want to use multiple light coats. This will avoid paint stroking and give you a nice solid color. This is especially important when doing light colors over black. You want to avoid heavy coating also due to the fact you might end up filling areas that you wanted black lining to show.

Step 5
Allrighty almost done! If you didn't tear him apart you all set but if you did its time to put him back together and make sure your happy with his color scheme.


Step 6
Now that your happy with his main colors it's time to add the little details. These are all optional and depend on how much depth you want to add to your figure. You can paint different color lights (head and rear) the seats, fuel tanks, etc. In this step you can also do a little more detail work trimming the head detailing and creating sharp paint lines for face/eyes.


Step 7
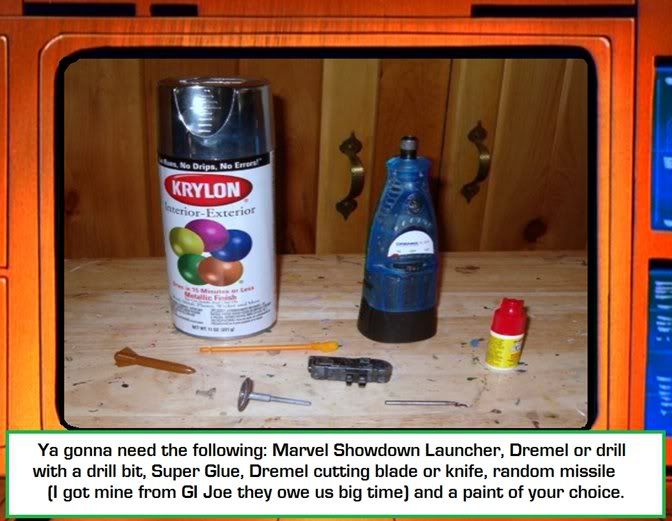
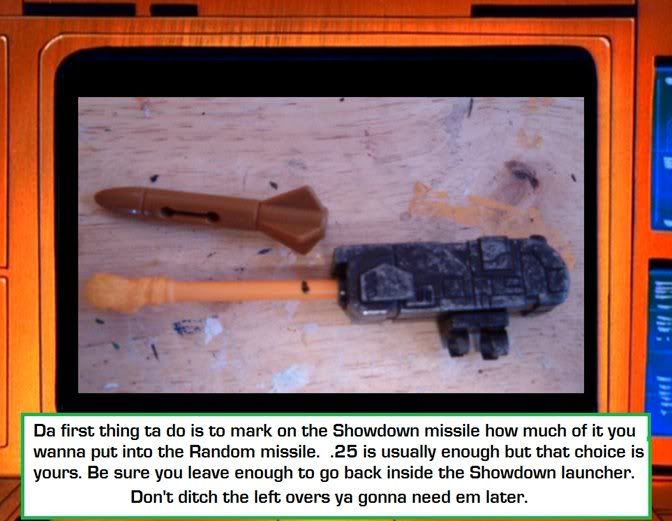
OK time for some weaponry! Just because you are making a Transformers doesn't me you have to use 100% Transformer products for your figures. I use such items as GI Joe, Power Rangers, Gundam, and even KO pieces and Dollar Store figures. Swindles gun is made from a GI Joe missle and Gundam model part frame. The big gun is made from a Gi joe Gun and a Marvel Legends Showdown missle tip with a Gundam frame as the handle.
I had to fill the center of Swindles chest with sculpt then drill a hole that would fit the handle. I also drilled a hole in the large gun to fit the small gun so it would combine like the original. A hole will need to be drilled in Swindles arm to fit the large gun in bot mode.


Step 8
last but not least is application of the faction logo. I get all mine from Reprolables.com.


w00t
you now have an update very poseable Swindle to add to your Decepticon legions!!!!

Monday, July 21, 2008

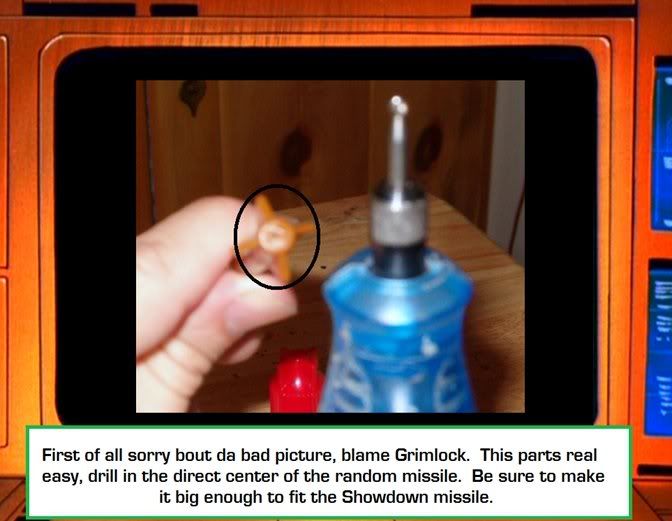
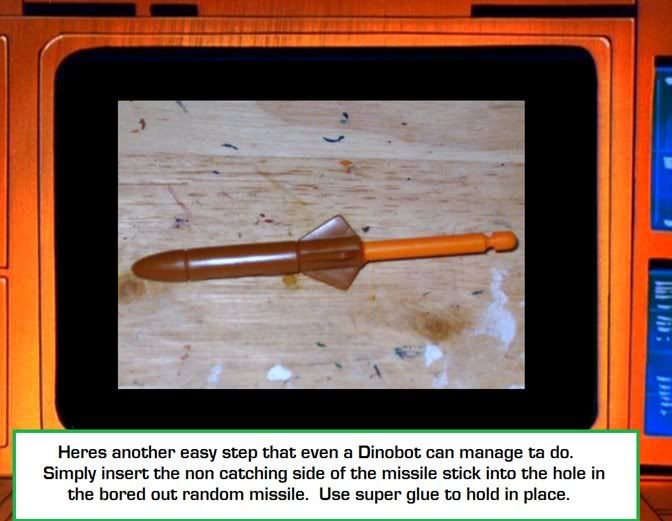
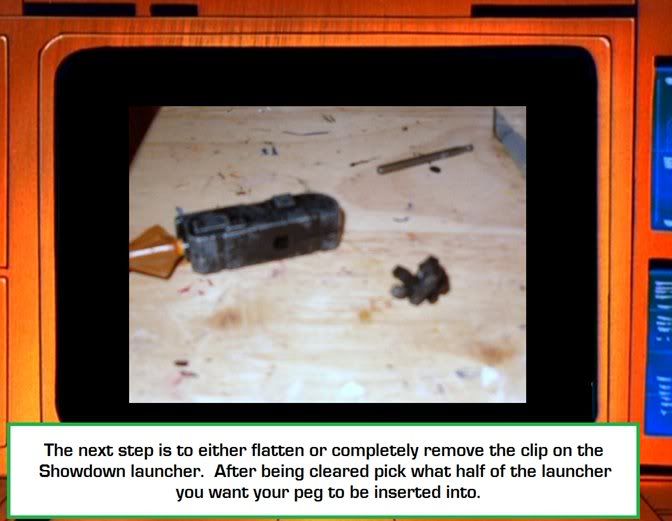
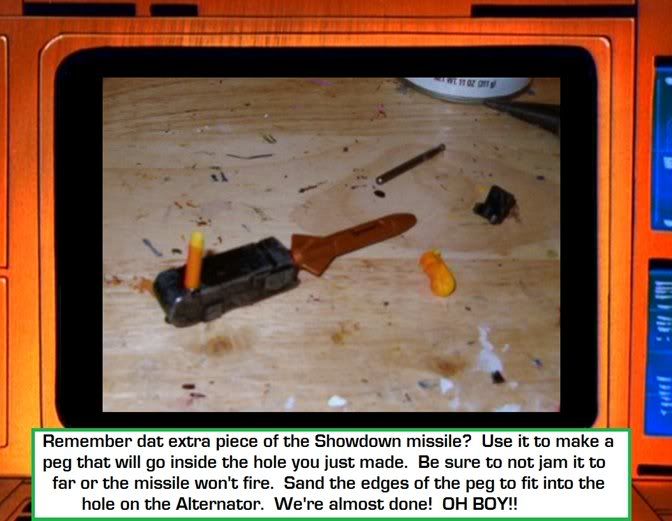
How To Article Chapter 2: Alternators Missile Launcher

Thanks again to Shinobitron for another great chapter in our exclusive Alterations how-to Article series. We'll let this tutorial speak for itself.


Friday, June 27, 2008

How To Article Chapter 1: Set up - Getting into gear

This is the first Chapter of an exclusive series of Alterations How To Articles. Thanks to alterations master Shinobitron for his dedication and time in putting this together for us all.

Chapter 1: How To Set up - Getting Into gear
Before you can start any alteration you need to have the right gear. Doing anything less would be like jumping into a Decepticon nest on one quart of energon and a single bullet (OK that might work if you're Grimlock, but I wouldn't take my chances).

Tools:
Be sure that you have the tools necessary for the job before beginning. For the most part you are going to need the following items Hobby (Exacto) Knife, Screwdrivers, Wire cutters, pliers, and a Dremel tool (small hobby drill as pictured). Not all projects are going to require all of these items but they all are very valuable to have around. Be sure to have a variety of Screwdriver sizes available as most TFs have various screw sizes.


Sculpt:
Sometimes the right piece is not available and you have to do it yourself. Many of my projects have resculpted heads to make them look more like their G1 counterparts. Their are many types of sculpt to choose from but for TFs with moving parts you need something that is going to last.
Aves apoxy sculpt and propoxy/ hercules sculpt is the best to use for ultra durability. Aves turns rock hard when fully cured and is very difficult to chip but takes a long time to cure. It can be purchased from aves website. The other is the Hercules / propoxy. This can be bought at local hardware stores and places like Home Depot and Lowes in the plumbing section. The main use for this is to fix leaks in pipes but has equally useful toy applications. The plus and minus with it is that it takes 5 minutes to cure steel hard.

Paints:
Finally comes paint. I use a wide variety of brands of paint in all my pieces. When choosing a paint however do not use the $.97 stuff from Walmart as this is more for Canvas painting and wood and tends to chip very easily. Their is an exception to the Wal Mart paint rule however and that the metallics. These are just as good as the expensive metallic paints. The best paint to use in my opinion are Citadel, Vallejo transparent, Reaper Master Series and Krylons. Krylons of course are a spray paint but make for a very effective base coat. Try to stay away from the Krylon gloss and use either the flat or Ultra flats as these make painting over top much smoother. The other paints, along with Tamiya can be ordered thru hobby/ comic shops and run about $3.00 a pot.


Now that you know what gear to get and you're all set up, our next lesson will be making an Energon Strongarm into everybodies favorite arms dealer Swindle!
Keep an eye our for our Alterations How To articles - Chapter Two.

New Alterations from Shinobitron

Check out these new alterations by our friend Shinobitron!
He has taken TFA Lockdown and turned him into a sweet transforming robot batmobile.
Hotrod as a classic muscle car, G1 Deluxe Insecticon Chop Shop, Energon style autobot tape Steeljaw, and Deception Swindle made from Energon Longarm. (Keep your eyes out for a simple Swindle alteration tutorial coming soon!)

Tuesday, May 13, 2008

Tuesday, March 11, 2008

TF movie customs by Shinobitron

Ever wonder what Headmaster Highbrow would look like as a TF movie character? How about Beachcomber? Well wonder no longer and check out these two great Transformers Alterations by Shinobitron.
While you're at it, take a look at some of his previous work: G1 Rampage, Movie Wreckgar, and G1 Hoist. Also, you can see G1 Galvatron, Grimlock, and Green Lantern Optimus Prime (an interesting combo) at Shinobitron's own website.